The more time I spend on house projects and crafts with the kids, the less time I have for all the other little stuff. Home management binder, to the rescue!! The idea for this is to keep all my little stuff, ideas, dates, and little stuff I need in one place and completely organized for easy access and efficiency.
So, to show you how I created my binder, I am doing a 2 part post and this first post is part 1. Part 1 is the outside of the binder and part 2 will be the inside! Keep a lookout fora future post on part 2, where I show you all the printables and goodies I stuffed inside!
This binder is super easy and affordable to make, and to personalize! Now, you can get a basic black, 1" binder at Walmart for .97 cents, as pictured here. I made a few binders for other people so I decided to make them a bit more fun and personal.
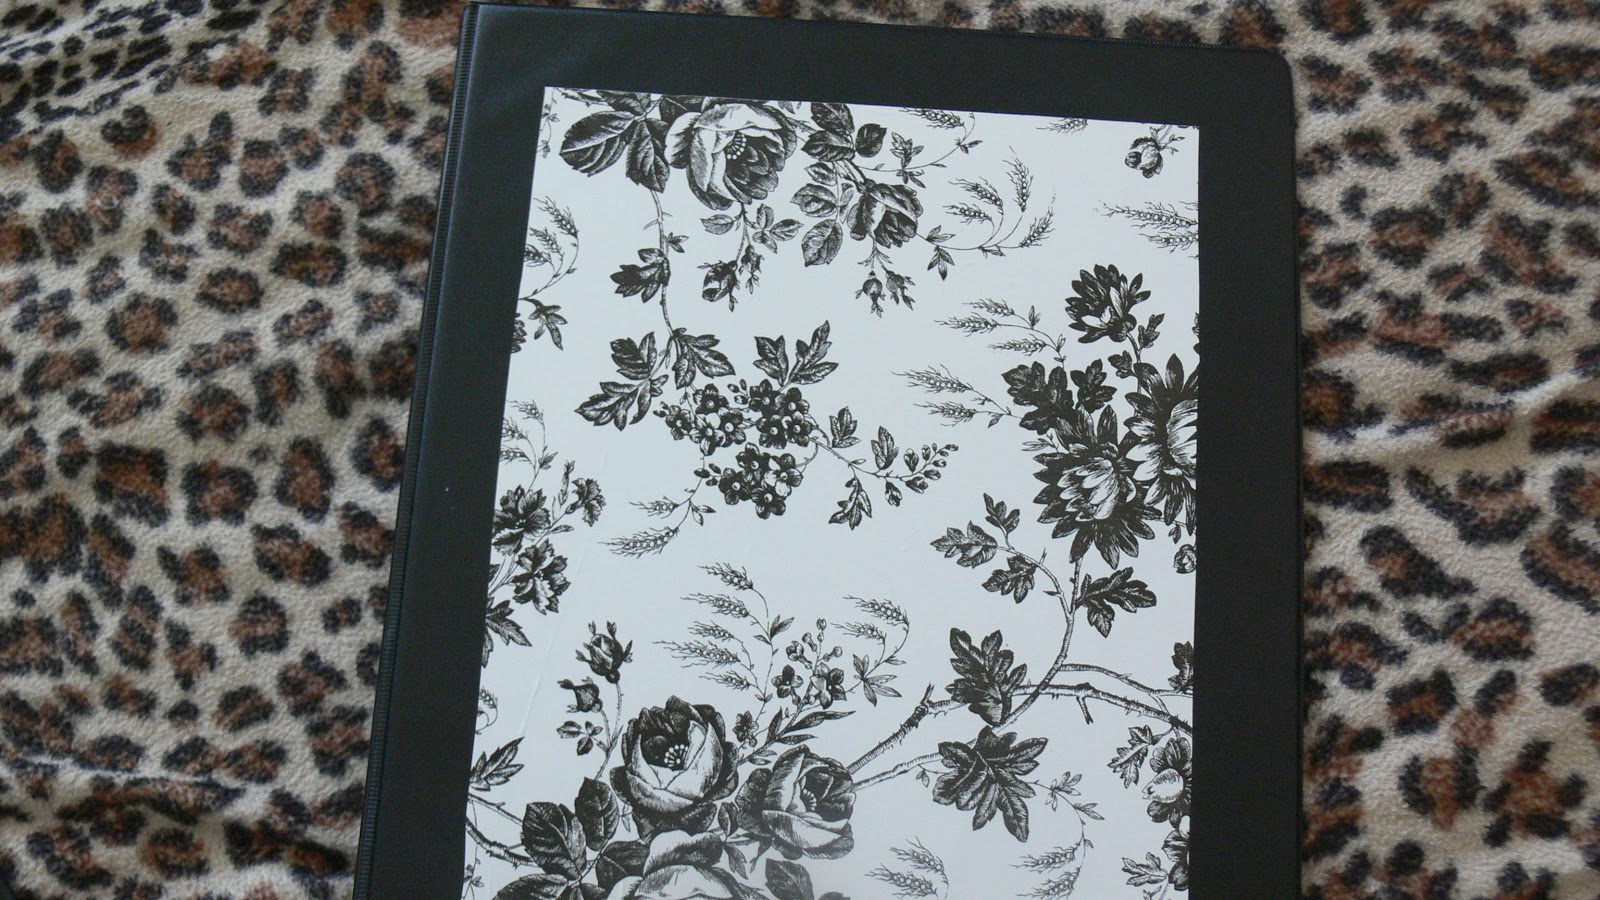
The roll of Quick Cover is simply a self-adhesive "shelf liner" or basically a patterned contact paper. It has a coat paper that your remove and you can stick the print where you want it. I got this roll at Dollar Tree for $1!
I cut a rectangle shaped piece for the front of the binder....
And a smaller strip piece for the side...and then stuck both to the binder using adhesive side.
I printed out title pages for the front of the binders and small labeling strips for the sides. I just did this whole thing in word, and picked out clip art that I liked, base don who the binder was for and what I thought they would like. You can personalize this in ANY way... use any colors, objects, pictures, whatever you like!
Notice the right side title says "task & reward book".... Yes, you can make a binder for the little ones if you want and they can stay organized too! (This one is for my 12 yr old sister, and the binder offers chore sheet, reward system, consequence page AND boredom bursting activities!)
I used Mod Podge (matte) and a foam brush to glue and seal the title page onto the shelf liner. I did only the back and then waited 5 full minutes. Then I coated the front of the title page 5 times, allowing a 20 minute drying in between each coat. (VERY important to let the coats drying in between, and a full 15-20 mins!)
I did use the first 2 coats over the title page and the last 3 I did over the entire front cover, to help seal the liner in as well. Because I used the matte finish, it gave the front a wood, almost grainy type finish. But not in a bad way! It has a nice texture when you touch it and it definitely feels solid and sealed. I don't feel seams, and so I know it will last and everything will stay stuck on! :-)
*Note* I used regular printer paper for my title pages and it did create a few small bumps because the paper is thin, but the bumps were mostly able to be smoothed out. Another alternative, which I should have done, would be to print on cardstock!
So in all, these binders came out really cool, they are personalized for the people they are going to AND the cover is solid. You can stick this in a bookcase without worry of the front coming off, and the side labels help to find it fast!
What do you think of this binder? Would you make something like this for yourself? Keep a look out for my next post on all the stuff I put in the binder to help organize my house and life and things I found to help with these binders I made for family that may be useful! That post will be SUPER informative!!
Until next time! :-)
Cre8tiveKtina