A funky Valentine's Day design with all the "romantic" colors. I am running out of Valentine's Day designs, so I am not sure how many more I will have before the day is upon us but I am working on a few designs that are not holiday or special occasion. Anyway, enough of my rambling and onto the tutorial.
I didn't take pictures in between putting on each stripe but that's what I did. I picked four Valentine's type colors. I chose China Glaze-Bing Cherry(dark & shimmery red color), Sally Hansen- Xtreme Wear-Fuchsia Power(a bright pink), China Glaze- White Out(a bright white), and China Glaze- I Wanna Lei Ya(a more subtle and soft pink). I did a diagonal stripe of each color along the nail. I made them as even as I could but they aren't even at all, lol.
After the colors were all applied, I used Kiss nail paint (Black) and separated each color with a thin black line.
I used the same colors and created hearts. Starting with the bottom of the nail, what would be the cuticle area, I made a heart in the lighter pink area. I decided to use the same colors but go the other way with the pattern. So for the base colors, I went from cuticle to tip with light pink, then white, then bright pink, then dark red. For the hearts, I did the opposite. So the first heart was dark red, as shown in the pic. I titled the heart toward the left a bit.
The next heart was the bright pink. I went the opposite way with this heart and tilted it to the right
Then the white heart...which I then went opposite of the one before it again and made it tilt left, like the first heart did.
And finally the softer pink on the dark red, which tilted to the right.
This was the finally product. This was a design that I was creating it as I painted but I was actually quite happy with it.
Not as even as I would like but sometimes it nice to see things aren't exactly perfect. I don't know... what does everyone else think? Is anyone painting their nails special for Valentine's Day? I know I will but I still haven't settled on a design! Well thanks for reading, I hope you enjoyed this tutorial and I encourage anyone to give this a try. Very easy and very cute!!!


 A really funky and different but cute Valentine's Day nail design. First, I started with a regular french manicured white tip. I used red polish)fire engine red) to draw a diagonal red line across half the nail, then filled in that corner with the red polish, as shown in the picture below.


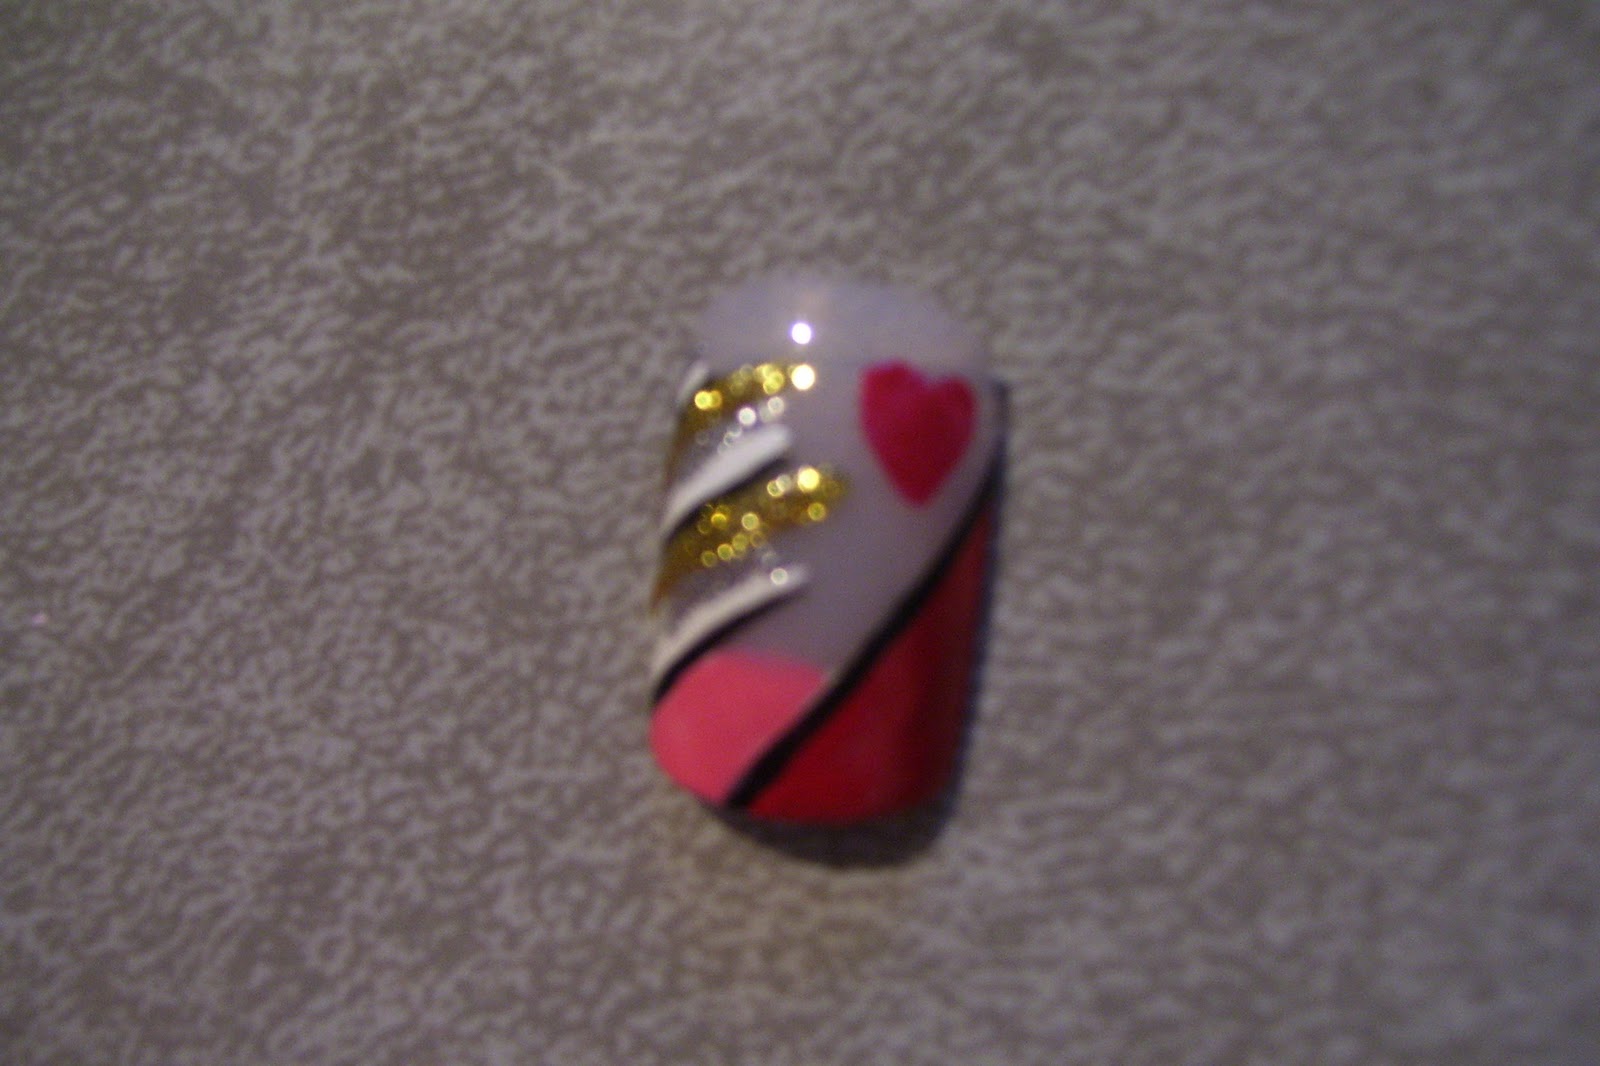 After all the lines and colors were slightly dry, I used the red Migi pen and drew on a small heart in the open area. The heart is very simple but I think it really adds the Valentine's Day element. It has all the "romantic" colors and one of the symbols, so I think this is a really great and funky design for Valentine's Day. Hope you enjoy! Feel free to leave any questions or comments and please let me know if you try this. i would love to see different styles and interpretations.