
One of my favorite ways to make something look completely new or different is to paint it! You can have so much fun with the different colors combinations, accenting with your favorite colors, or just creating a new feel to a certain room! Painting can also be a cost-effective way to really add a clean look to something without just replacing it! Aside from those things, painting is relatively easy and sometimes, downright fun!
The hubby and I have been doing lots of different painting jobs around the house so I am going to document and post, whether it's good or bad, you get to see what we got into and how well it turned out.
.JPG) |
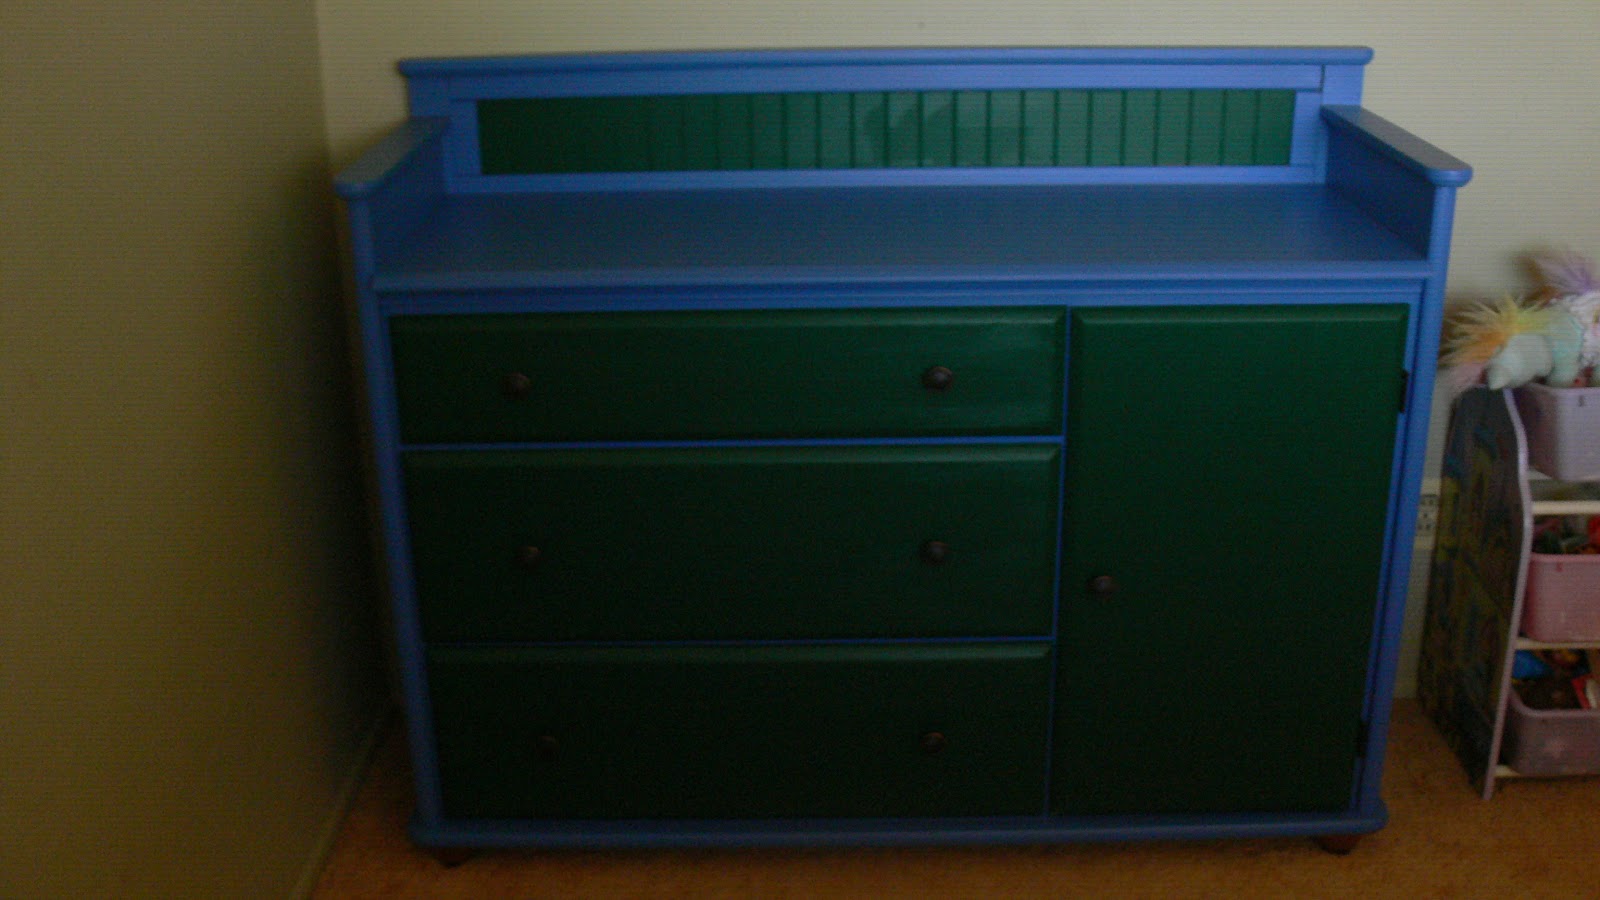
| Old Changing Table-We use as a dresser |
Making sure you have your needed supplies together is #1. Besides the normal paint and brush utensils, Painter's tape is a must! It helps with straight lines and effect! You'll see why it is a NEEDED item for this project.
.JPG) |
These were the old, half-broken "knobs" from the dresser I described above. Very ugly, most are broken and obviously dated. I am holding onto them for a little while, just to see if I can think of a way to re-purpose these. Any suggestions? Post below! If I think of a use or hear a great one, that will be another post :-) |
.JPG)
The next thing was taping off each thing I was going to paint...
We went paint crazy and started on the dresser before I got a tape picture BUT there are these inset areas on this old changing table, one on each side and one along the backboard, as pictured. We taped of those inset areas, which you can see the painter's tape in this picture, even though our paint is blue too! lol |
The pic below shows the inset area on the side, and the blue painter's tape going around the edge of the inset area.

Besides those inset areas, the rest of the frame for the dresser was painted a softer blue. The actual paint color, if interested, is called SOFT SAPPHIRE. I think a shade or two deeper would have been better but I do like this color and I didn't want it too dark.


Once the blue dried completely, we removed the tape THEN taped around the outside of the blue, so we could paint the inset areas without going into the blue we already laid! Notice the green smudge at the bottom of this side inset area...it is on the painter's tape, not the dresser :-)

We waited until the paint was completely dry and then removed the tape again. One we added the new knobs onto the drawers and put everything back in, it was like a whole new piece of furniture!


No comments:
Post a Comment